In today’s topic we are going to cover Multi Tenancy setup. Multi-tenancy in vRA 8.1 is very different from what it was in vRA 7. In 8.1, the multi-tenancy is based on domain names, and not URLs as it was before.
vRealize Automation enables customer IT providers, to set up multiple tenants, or organizations, within each deployment. Providers can set up multiple tenant organizations and allocate infrastructure within each deployment. Providers can also manage users for tenants. Each tenant manages its own projects, resources, and deployments.
Multi-tenancy relies on coordination and configuration of three different VMware products as outlined below:
Workspace ONE Access – This product provides the infrastructure support for multi-tenancy and the Active Directory domain connections that provide user and group management within tenant organizations.
vRealize Suite Lifecycle Manager – This product supports the creation and configuration of tenants for supported products, such as vRealize Automation. In addition, it provides some certificate management capabilities.
vRealize Automation – Providers and users log in to vRealize Automation to access tenants in which they create and manage deployments.
Prerequisites
Install and configure Workspace ONE Access version 3.3.2.
Install and configure vRealize Suite Lifecycle Manager version 8.1.
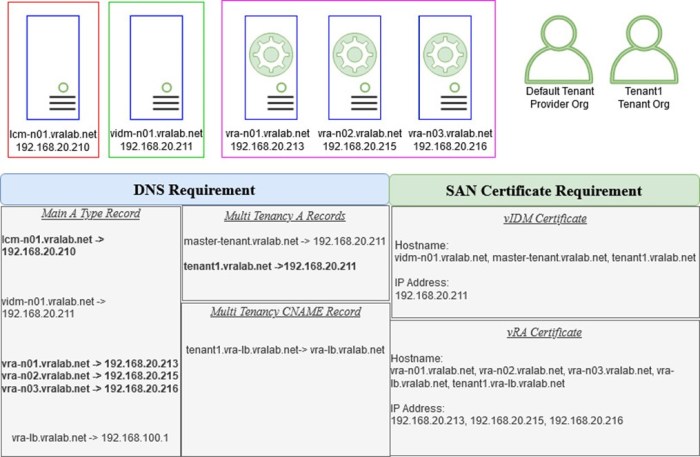
Below is my lab setup for deploying multi tenancy
Multi tenancy setup procedure
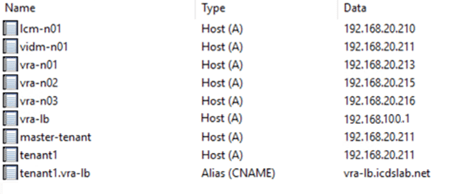
1. DNS records – Create the required DNS record, A and CNAME type record.
2. SAN Certificate – Both vIDM and vRA need only one certificate each. This means that for every new tenant, including the master tenant, you must generate and apply a SAN Certificate to each system. This also means there is an incurred downtime for your vRA.
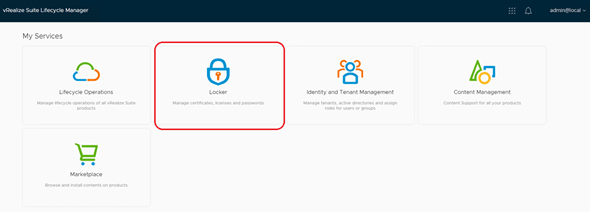
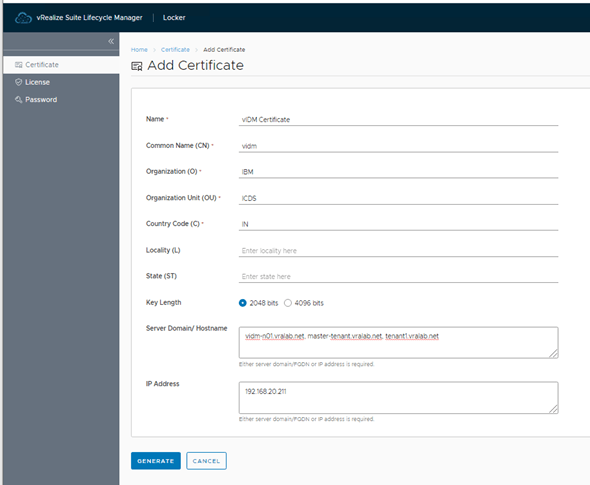
Creating SAN certificate: Login to vRSLCM and click on Locker.
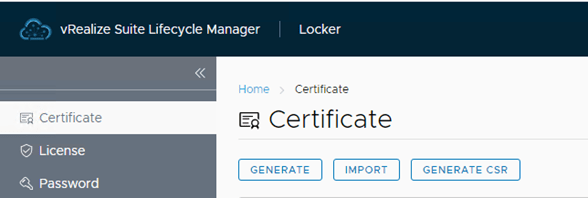
 Click on Certificate tab and select Generate, Import or Generate CSR. In my case I am going to create one so, clicked on Generate.
Fill all the details like, a Name, CNAME, Organization etc., put server FQDN for which we are going to create certificate & corresponding IP address. Click on Generate once all details are filled, and your Certificate will be generated.
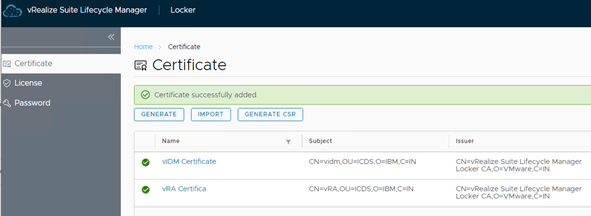
Repeat the above step to create vRA certificate as well.
Now we have both the SAN certificate ready to use.
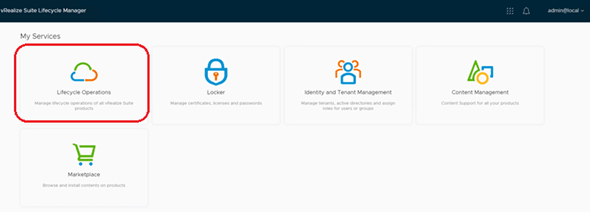
3. Applying vIDM Certificate: Now we need to apply vIDM certificate before enabling the tenancy.
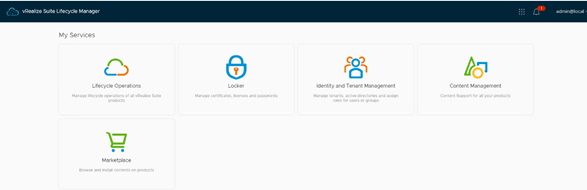
Login to vRSLCM and select Lifecycle Operations.
Under Lifecycle Operations go to Environments and select vIDM environment and click on view details.
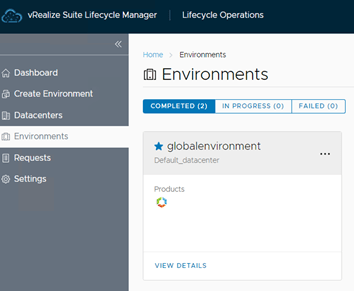
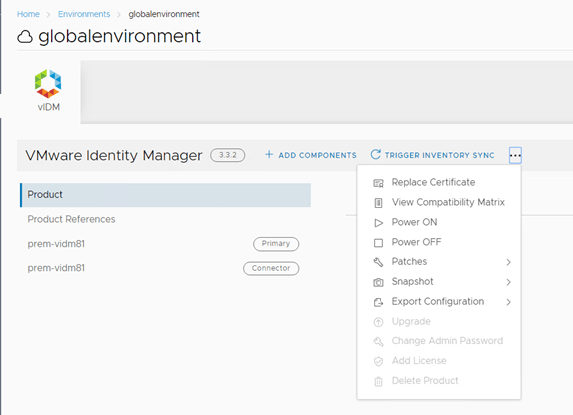
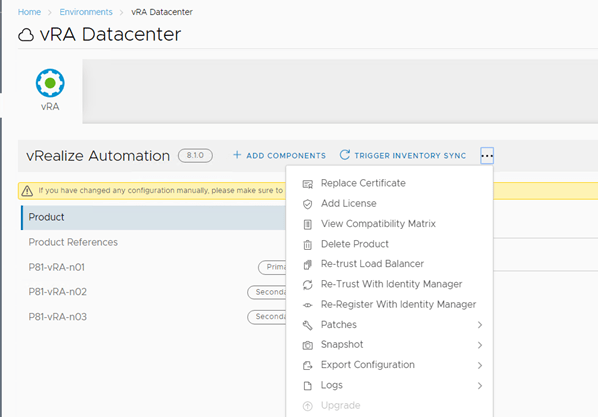
Once Identity Manager detail page is open, navigate to right top corner of the page and select the 3 dots option as below screenshot and select Replace Certificate
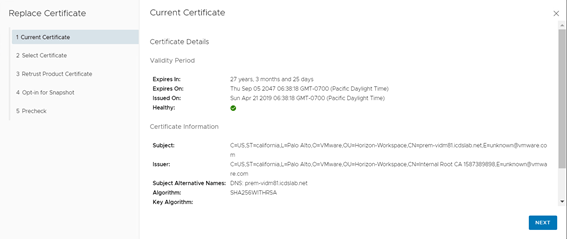
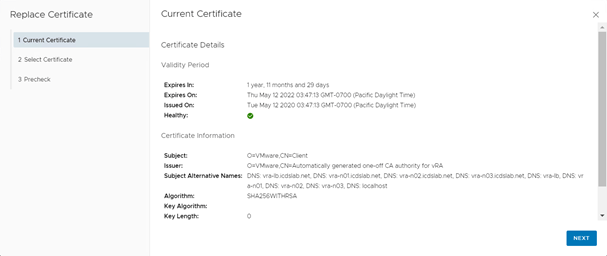
In the Replace Certificate it will show you current certificate, click Next.
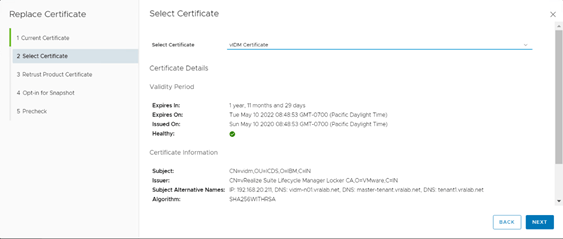
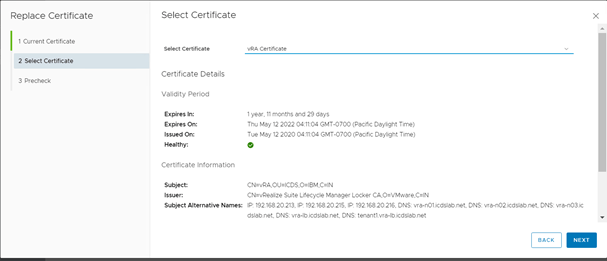
In the select Certificate page select the vIDM certificate create earlier. Once you will select the certificate it will show all the details of certificate. Click Next to move forward.
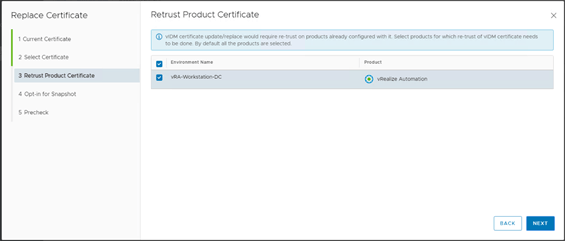
In the page you can see all the product installed and should be able to select product for which you would like to re-trust certificate.
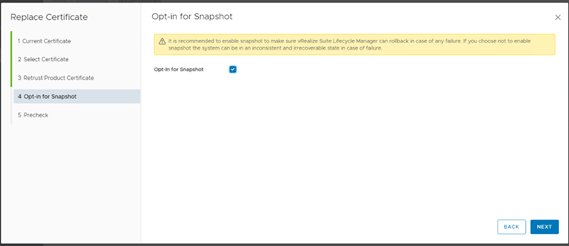
In this page you can Opt-in for snapshot, just check the box against Opt-in for Snapshot option. It’s a best practice to take screenshot before doing any change on appliance.
In case of any failure we can revert the snapshot to recover the vm. Click on Next.
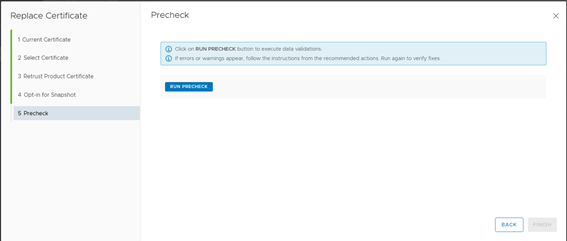
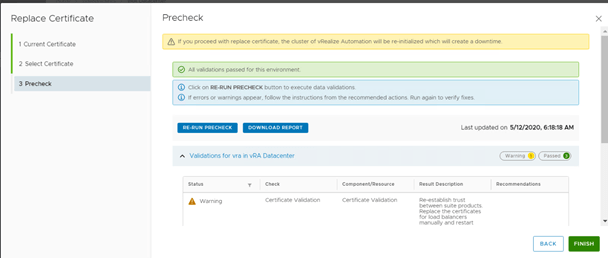
In the Precheck window click on Run Precheck to initiate Precheck before replacing the certificate.
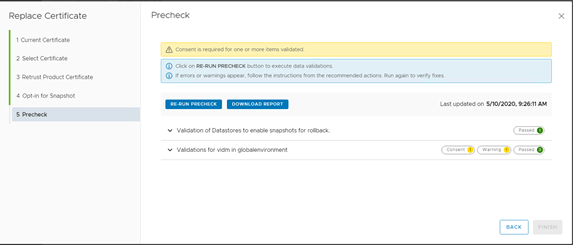
Once Precheck will complete it will show you the status of precheck as Passed, Failed, Consent or Warning. Expand the validation report for detail view of alert.
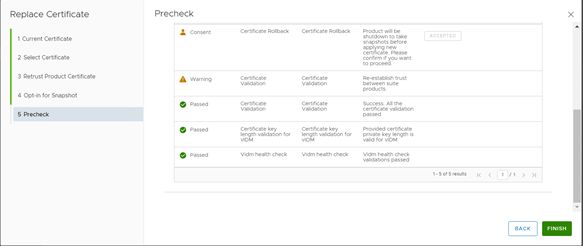
As below you can see there is a Consent option to Accept before moving next. This Consent is required as Product will shutdown to take snapshot before applying new Certificate.
Please Accept, once you will accept the consent Finish window will enable. Now you can click on Finish to start the certificate replacement process.
Sit back relax and monitor the status of certificate replace in Request tab.
 And our certificate is replaced successfully.
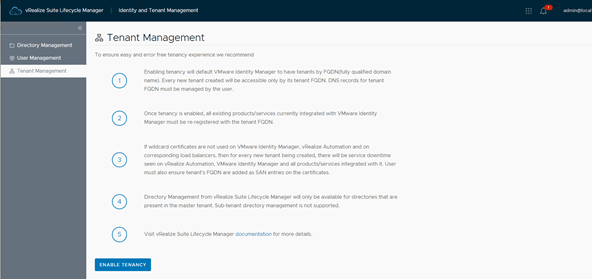
4. Enabling Tenancy- Now it’s time to enable tenancy.
Go to Identity and Tenant Management Tenant Management and click Enable Tenancy
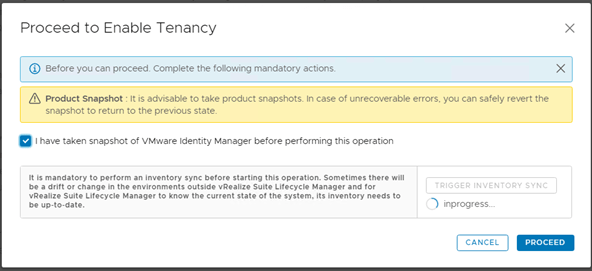
Proceed to Enable Tenancy window will give you an opportunity to take snapshot of VMware Identity Manager.
Also trigger inventory sync, once sync is completed you need to confirm ‘I have taken snapshot’ and proceed.
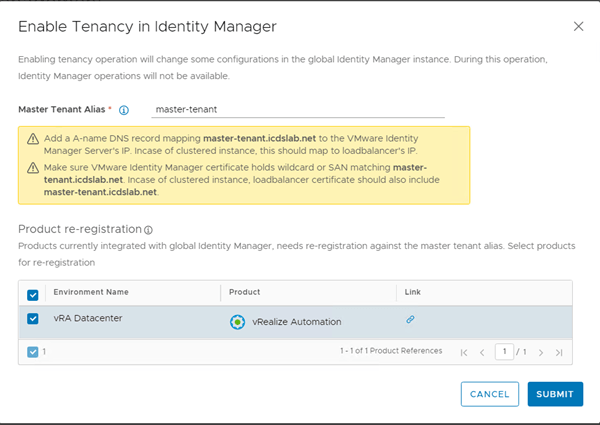
Now, provide Master Tenant Alias and select the product to re-register against the master tenant alias and Submit.
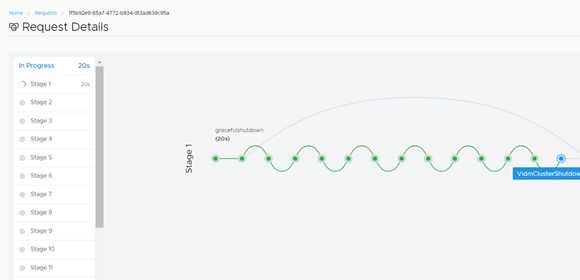
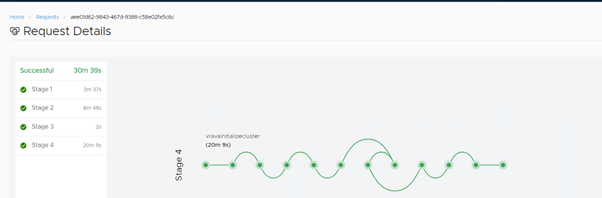
You can see the request status from Request details tab, in my case it took around 30 min.
5. Applying vRA Certificate
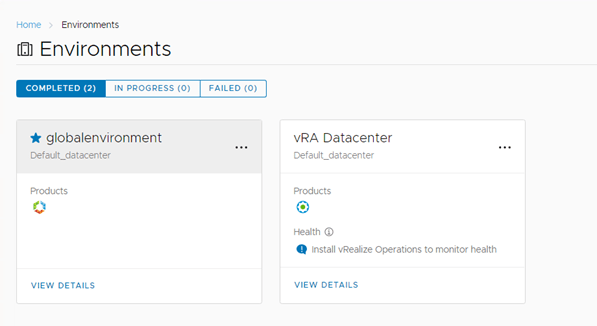
Once Tenant is enabled, we need to apply vRA certificate. To replace the certificate go to Lifecycle Operations Environments and select vRA environment and click on view details.
 Once vRA Datacentre detail page is open, navigate to right top corner of the page and select the 3 dots option as below screenshot and select Replace Certificate
It will show you current certificate click Next.
Select the vRA certificate, which we have created earlier in this post.
Run the Precheck and click on Finish if everything looks fine.
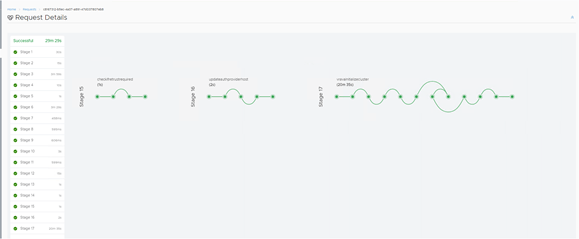
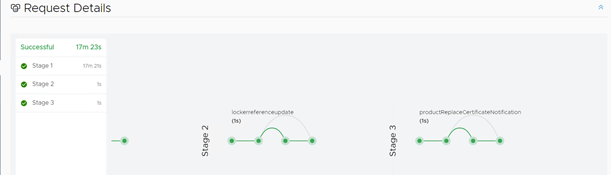
You can monitor the status from Request details tab. In my case it took 17 min to complete.
6. Adding Tenants – Once the vRA certificate is replaced with the newly create certificate we can go ahead and add tenant.
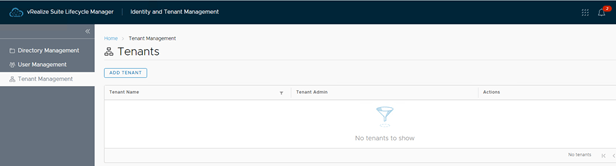
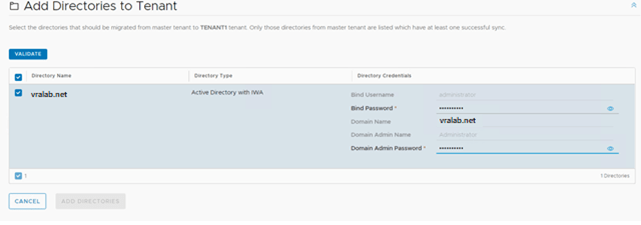
To add the tenant, go to Identity and Tenant Management Tenant Management and click on Add Tenant
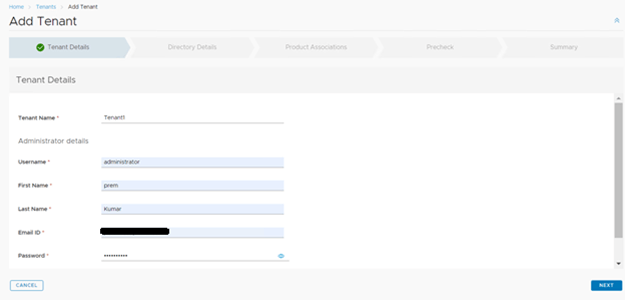
In the Add Tenant wizard, give tenant name, username for tenant and password and click Next.
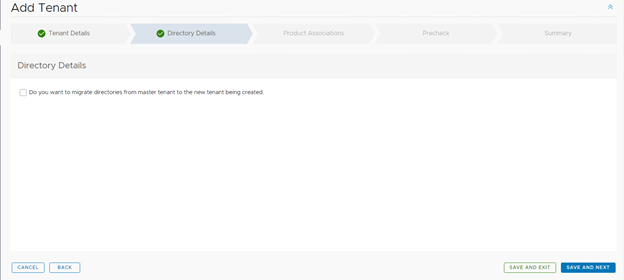
In the directory details check if you have already integrated your directory service with vRA and want to use the same with this tenant.
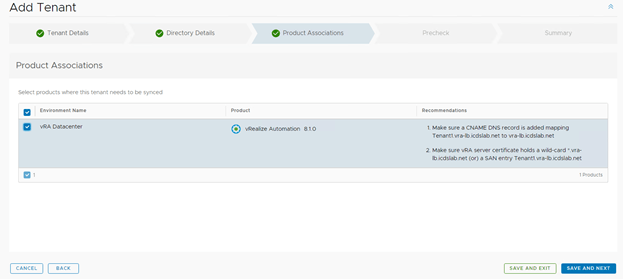
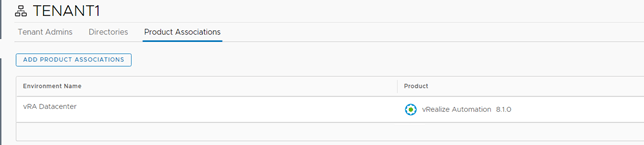
In Product Association page select all product you want to sync with tenant, in my case only vRA 8.1 is deployed.
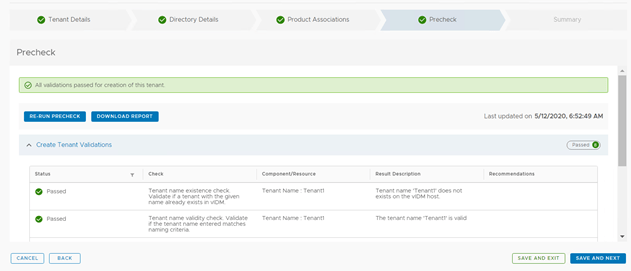
Run Precheck and fix if any issue, if configuration is correct the Precheck should show as green, click on Save and Next.
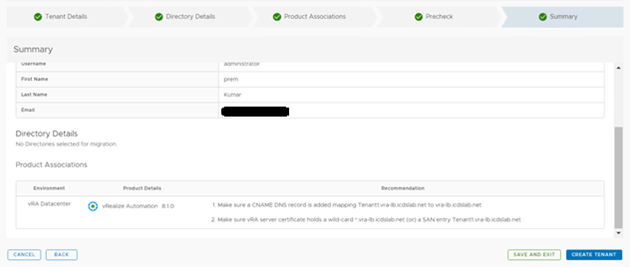
In the summary page you can review all the details provided/added till now. Once reviewed click Create Tenant.
You can monitor the status in Request Details tab.
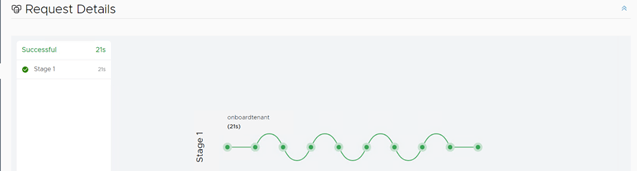
And here our tenant has been created.

7. Validating Tenant’s vIDM & vRA Instances
Once tenant has been created, we need to add user or assign permission. For adding user to tenant
Go to Identity and Tenant ManagementàTenant Management ad click on newly created Tenant.

Here select Add Tenant Admin to add local user in tenant or Search and Assign to search for domain user and add.

If you missed to add Directory detail from above Add Tenant process, you have an opportunity to add directory to tenant under Directories tab.

In the Product Associations section, you can select to add Product in Tenant.
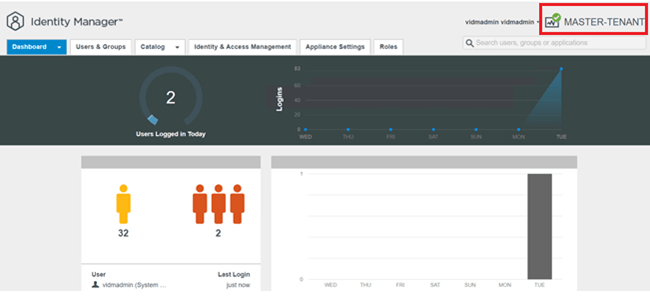
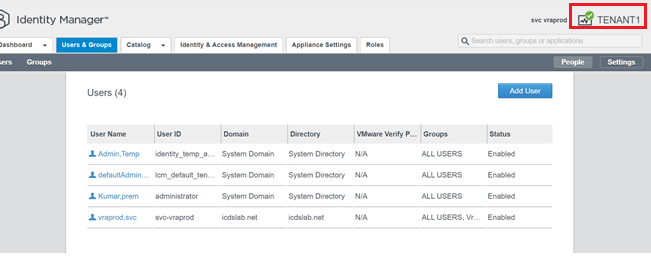
Now we will validate the tenant by login to master tenant identity manager at https://master-tenant.vralab.net and Tenant1 at https://tenant1.vralab.net
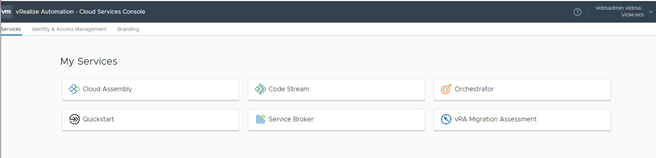
Now we will login to vRA Cloud Console Service at https://vra-lb.vralab.net (master tenant) and https://tenenat1.vra-lb.vralab.net (Tenant1).
Master Tenant
Tenant 1
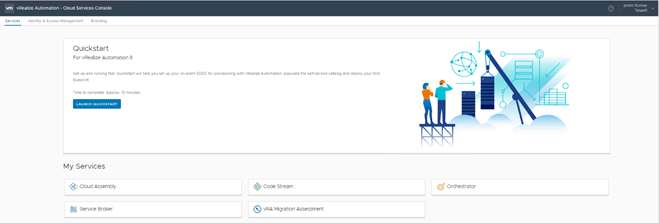
We are successfully able to login to Tenant.
Hope you liked this post. If you think this post is helpful to you, please like & share also comment if you need any further discussion.
