vRealize Automation allows you to integrate active directory & other directories for authentication & user access in vRA portals. In this post we will learn how to integrate your enterprise directory with VMware Identity Manager to sync users and groups to the VMware Identity Manager service. Starting from vRealize Suite Lifecycle Manager 8.0, you can create, read, update, and delete directories on VMware Identity Manager. Any updates made in the directory configuration from vRealize Suite Lifecycle Manager 8.0, the same are reflected in the VMware Identity Manager.
Supported Directories
- Active Directory over LDAP – If you plan to connect to a single Active Directory domain environment, create this directory type
- Active Directory, Integrated Windows Authentication – Create this directory type if you plan to connect to a multi-domain or multi-forest Active Directory environment.
- Secure LDAP
In vRA 8.1 we have different options to integrate directory services.
- Directory Service Integration via vRealize Suit Life Cycle Manager, Identity and Tenant Management
- Directory Service Integration via vIDM Identity and Access Management.
Directory Service integration via vRealize Life Cycle Manager.
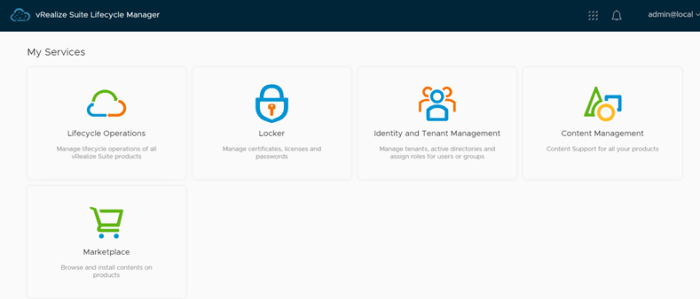
- Login to vRealize Suit Life Cycle Manager and navigate to Identity and Tenant Management.
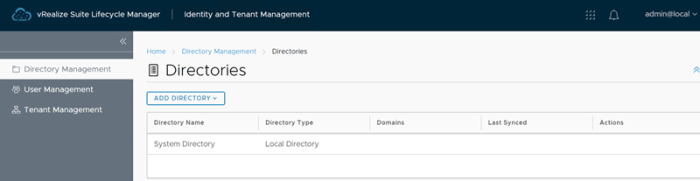
- In Identity and Tenant Management, go to Directory Management and click on Directories from right pane.

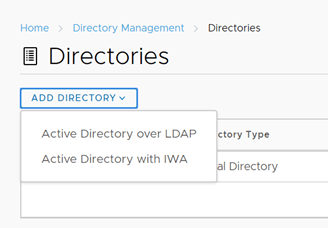
- Click on Add Directory and select how you want to add directory service, Active Directory over LDAP or Active Directory with IWA. In my case I will add it via Active Directory with IWA.
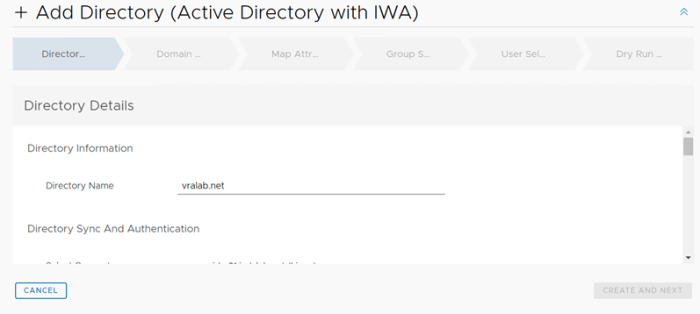
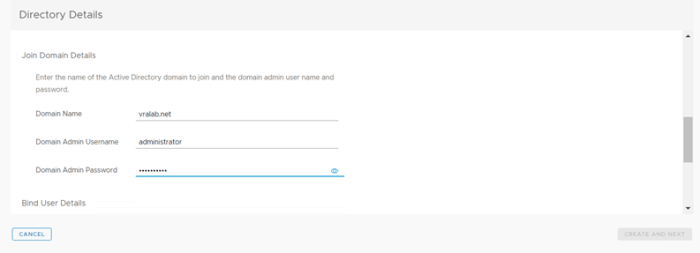
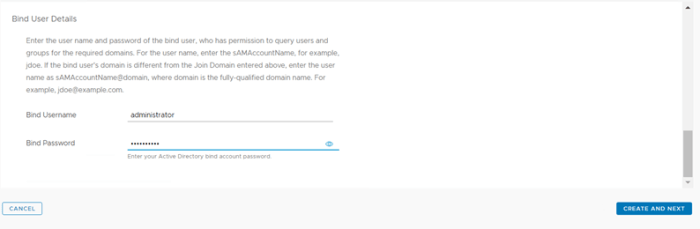
- In Directory Detail page fill the details like Directory Name, select connector, Join Domain Details and Bind User Details and click on Click and Next.
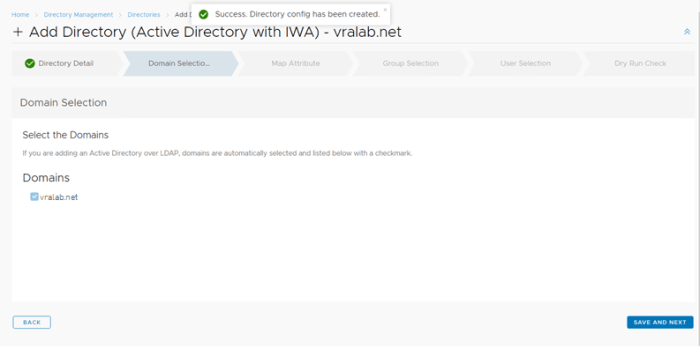
- In Domain selection page it will show you all the domain available to add, it my case I have only one domain so can see it below select and click Save and Next.
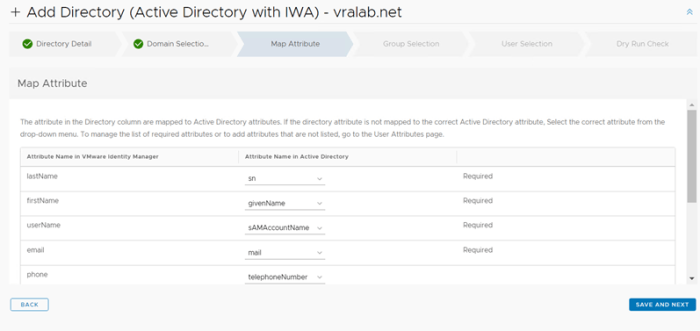
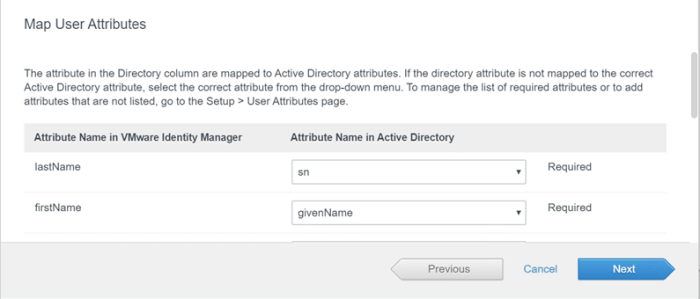
- In Map Attribute window, map the VMware Identity Manager attribute with Active Directory attribute. And click on Save and Next.
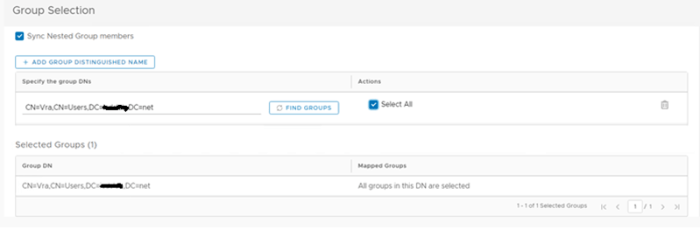
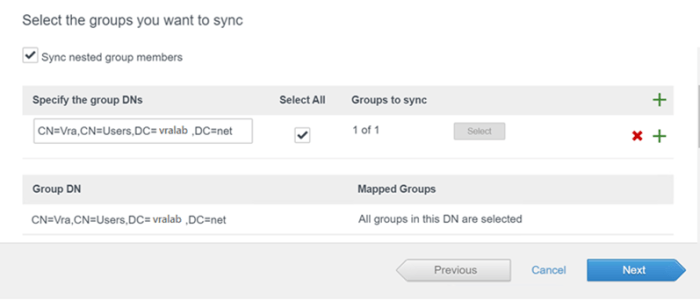
- Specify the group DN to sync with vIDM, vRA and click on Find Group. Search & select the group you wish to sync and click on Save and Next.

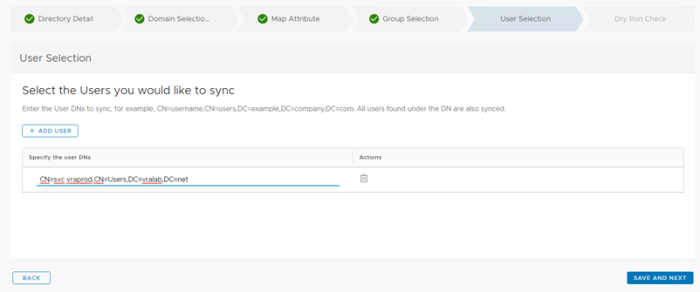
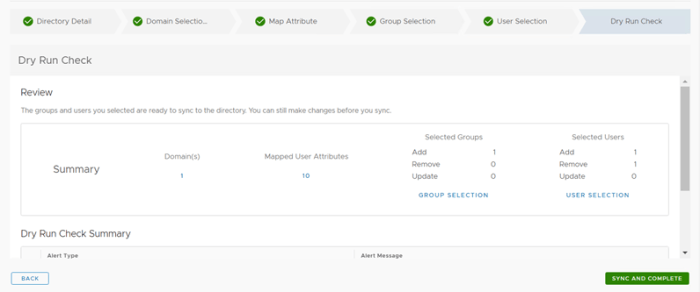
- In this page add the user you would like to sync and click on Save and Next which will initiate a Dry Run Check. Post completion of the check it will show you the summary of user & group about to sync.
If everything looks fine and no Alert in Dry Run Check Summary click on Sync and Complete.
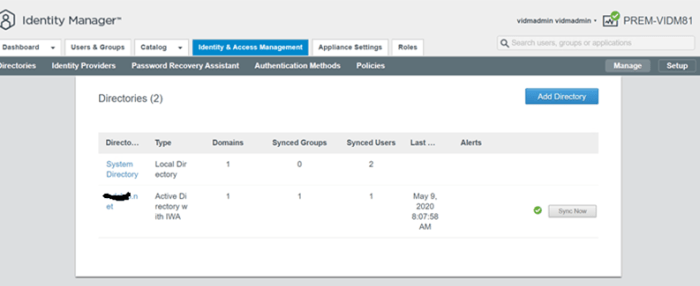
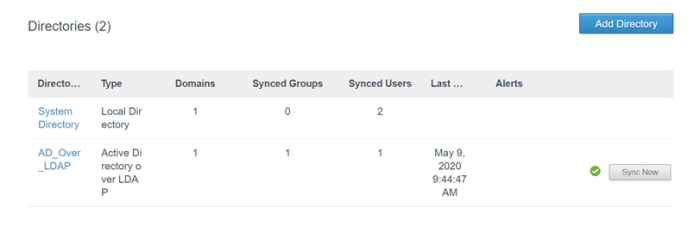
- After successful synchronization you will see the directory has been added and last sync status as green.

- And we are done with adding Active Directory service in vRA 8.1.
Directory Service integration via vIDM Identity and Access Management.
- Open vIDM link and login with your system domain user, navigate to Identity & Access Management.
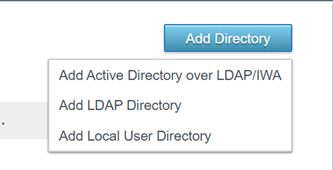
- In Identity and Access Management click on Add Directory and choose how you would like to add directory service. In my case I’ll choose Active Directory over LDAP/IWA
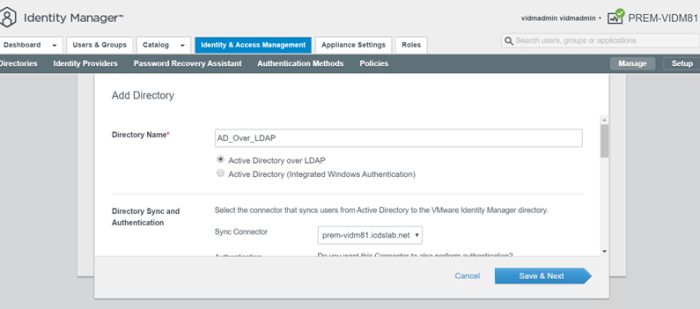
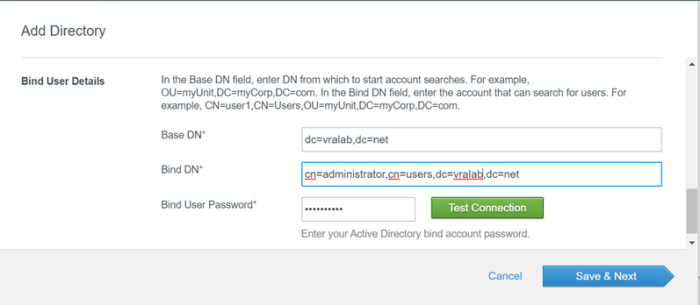
- In Add Directory page, give details like Directory Name and choose Active Directory over LDAP, choose Sync Connector from drop down (in case of clustered vIDM) and Bind User details and hit Test Connection, once connection is successful click on Save & Next.
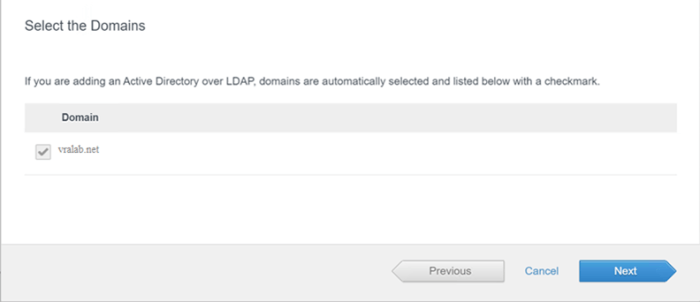
- In Domain selection page it will show you all the domain available to add, it my case I have only one domain so can see it below select and click Next.
- In Map Attribute window, map the VMware Identity Manager attribute with Active Directory attribute. And click on Save and Next.
- Specify the group DN to sync with vIDM, vRA and click on Find Group. Search & select the group you wish to sync and click on Save and Next.
- In this page add the user you would like to sync and click on Next.
- In Review page it will show you summary of user & group going to sync click on Sync Directory. You can view the Sync log from “Import Status: Sync started” popup window.


- Once the sync will done you can see the directory service has been added and last sync completed successfully.
 And we are done with adding Active Directory service in vRA 8.1.
Directory Service integration verification:
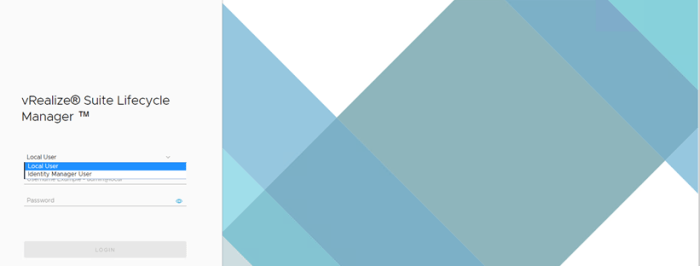
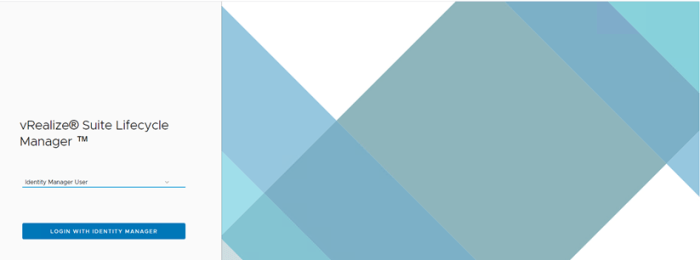
- Open vRSLCM link and select Identity Manager User from drop down. Once you will select Identity Manager User you will be redirect to net page click on Login with Identity Manager.
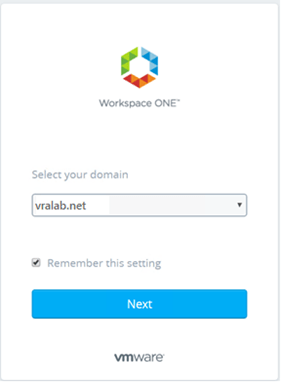
- Once click on Login With Identity Manager you will be direct to Workspace ONE login page, from here you can select the domain added and click on Next.
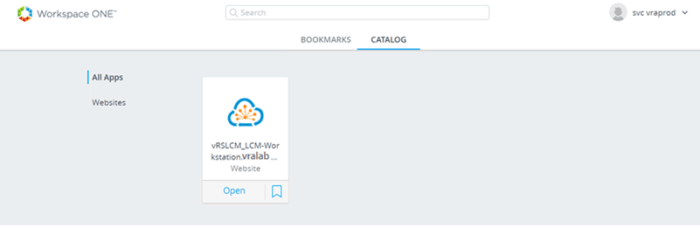
Login with you synced user id & password

- And you will be able to login with the domain user if everything is fine as I am able to login.
In the next post I will discuss about Multi-Tenancy Setup with vRSLCM.
Hope you liked this post. If you think this post is helpful to you, please like & share also comment if you need any further discussion.
