In this post I am going to install vRA 7.6 through vRLCM 2.1.
What is vRealize Automation?
VMware vRealize Automation is a modern infrastructure automation platform that enables self-service multicloud environments. With vRealize Automation, customers can increase agility, productivity and efficiency through self-service automation, by reducing the complexity of their IT environment, streamlining IT processes and delivering a DevOps-ready automation platform.
Before jump in to installation process go to VMware site for system requirement & required port details.
Installation Procedure:
- Login to vRealize LCM console from https://IP-or-FQDN/vrlcm using credential
User: admin@localhost
Password: vmware
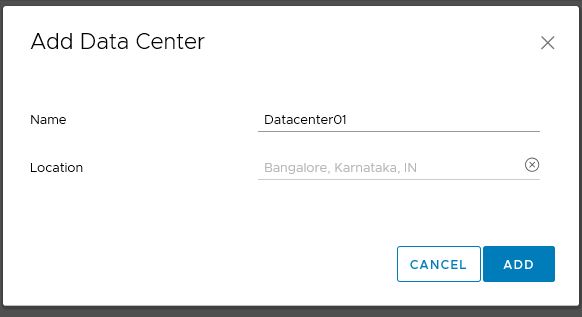
- Go to Data Centers & Add Data Center give it a Name & provide DC location and click on Add.
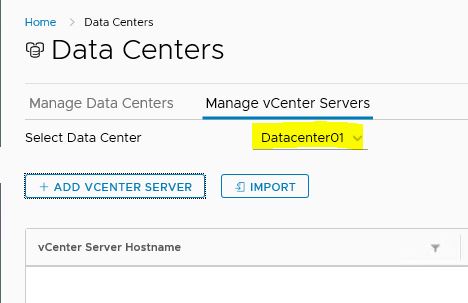
- Now move to Manage vCentre Servers tab and select the Datacentre from the drop down which we have just added and click on Add vCenter Server
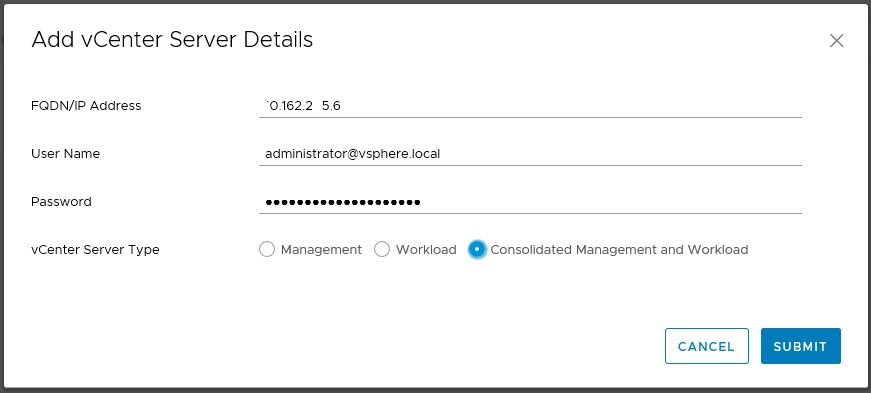
- Provide your vCenter details and credentials, select vCenter Server type, in my case both management & workload will be on same vCentre, so I have choose consolidated Management and workload. Click on submit.
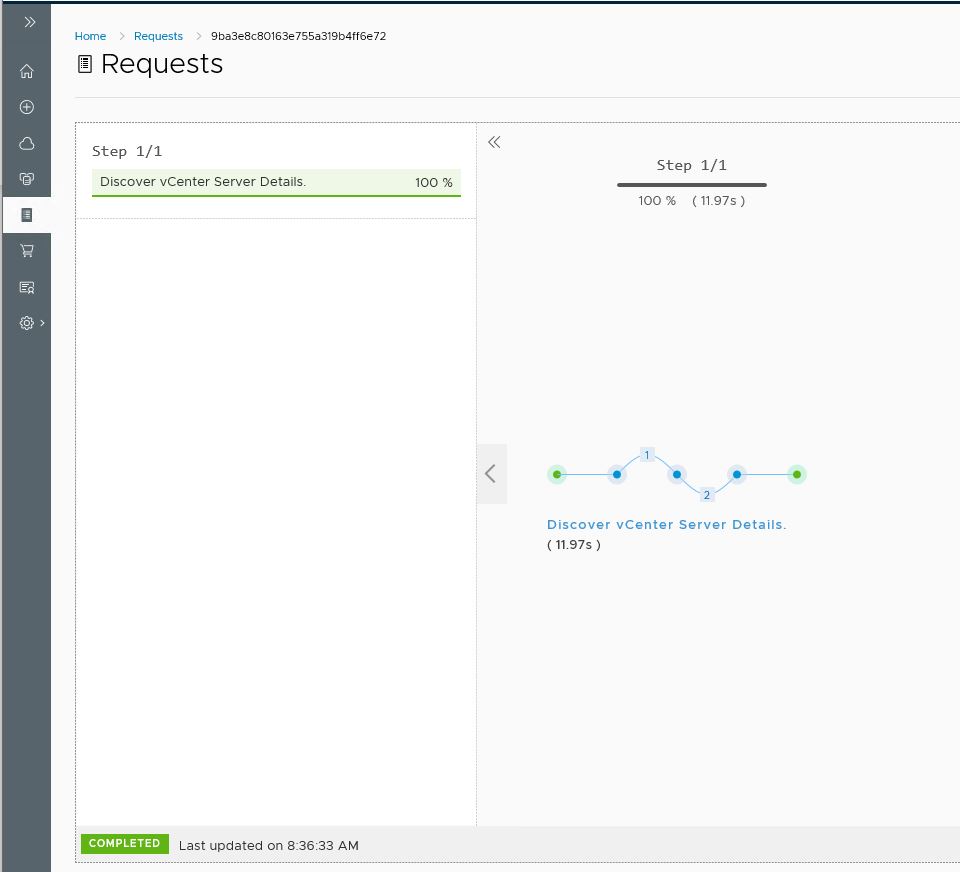
- Once submitted, go to request tab to review the request status. It will look like below once completed.
- Now we have vCenter added in LCM so we will move to create Environment.
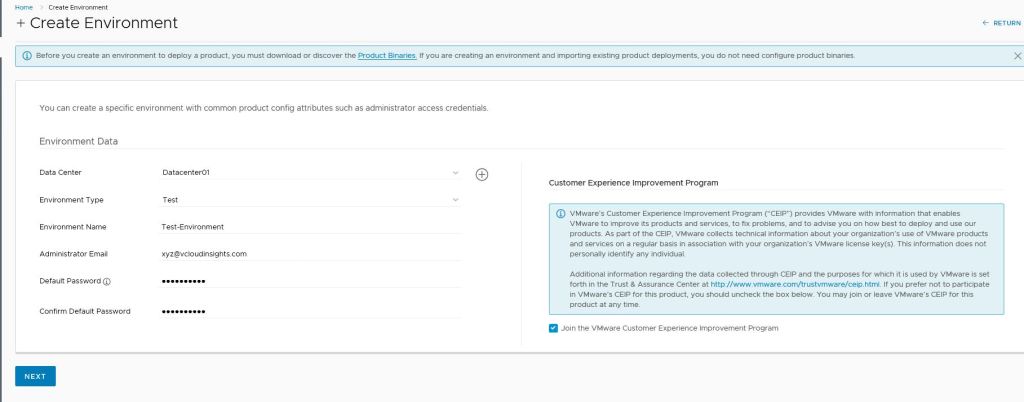
- Go to home tab and click on Create Environment, you will land to Environment data page. Select the Data Center from the drop down and fill other details then click Next.
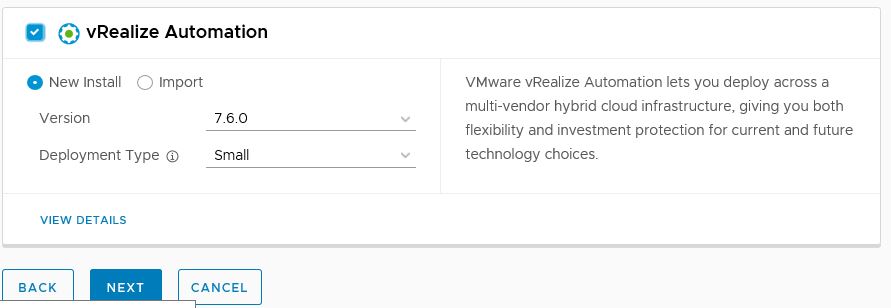
- In this page you can choose the product you are going to install in your environment, like vRealize Automation, Network Insight, Log Insight, Business for Cloud, Operations. In this post will go with vRealize Automation only.
- Select the version & deployment type, I am choosing small as this is the lab environment. In small environment, it will only deploy one instance each component. Click on Next
- Read and accept the EULA and click Next.

- Add you licensing details and click Next

- Select all the infra details and add NTP server then click Next.

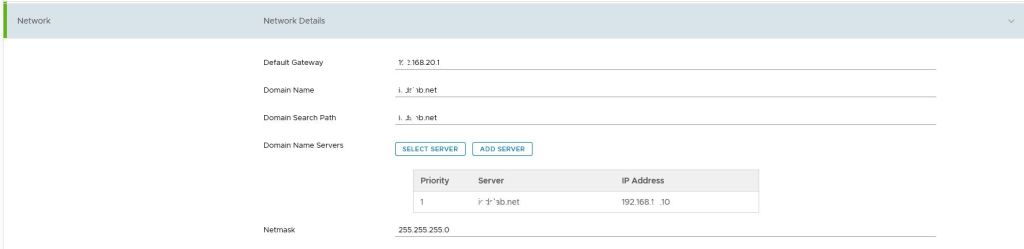
- Provide Network details and move Next.
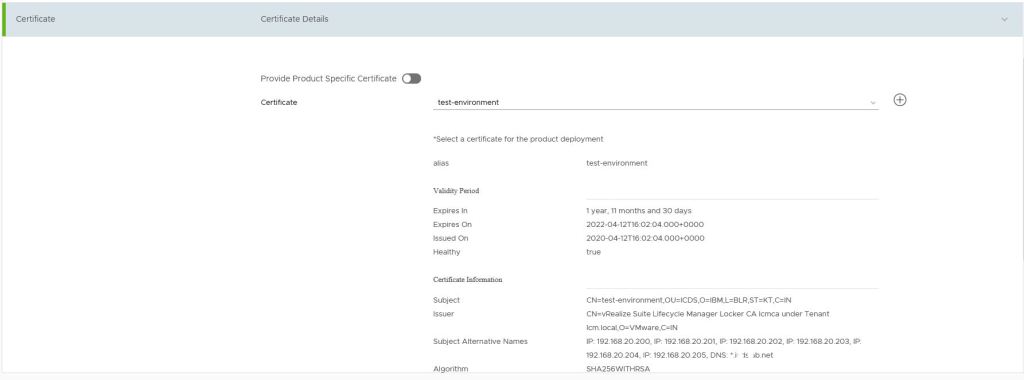
- Add your certificate and next
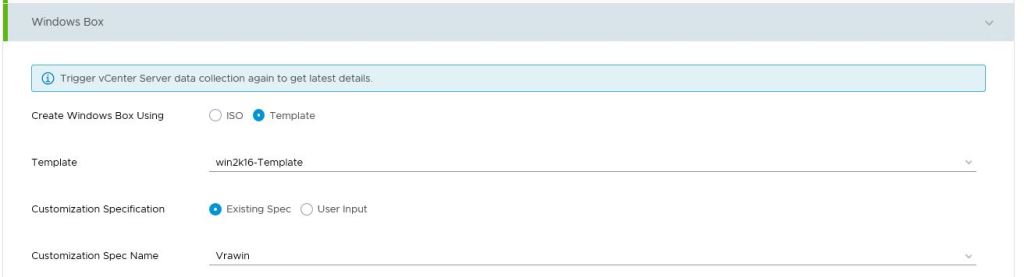
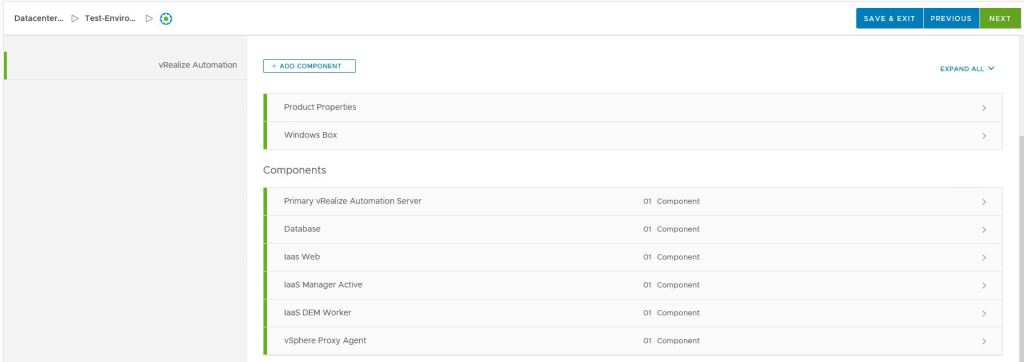
- Fill all the product details and move Next.

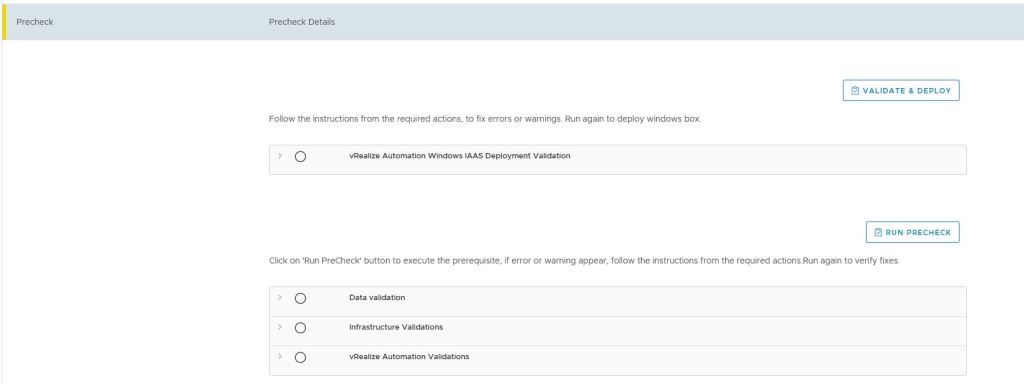
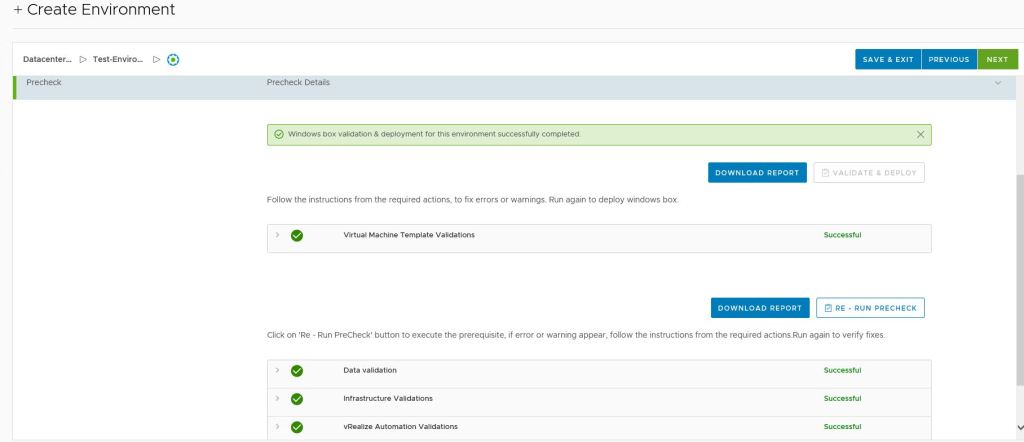
- In the Precheck page, click on Validate & Deploy, once its successful click on Run-Precheck and wait for it to complete successfully as below.
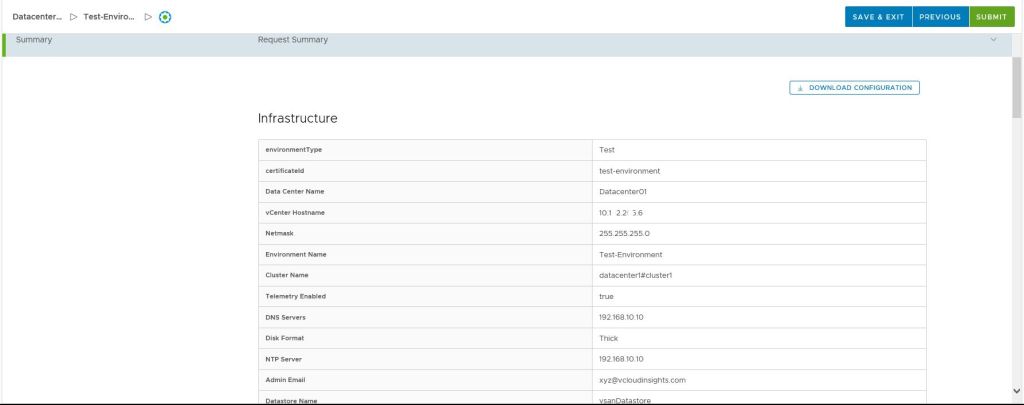
- Now in Summary page review the details and Download Configuration for future reference and click on submit for vRA environment deployment.
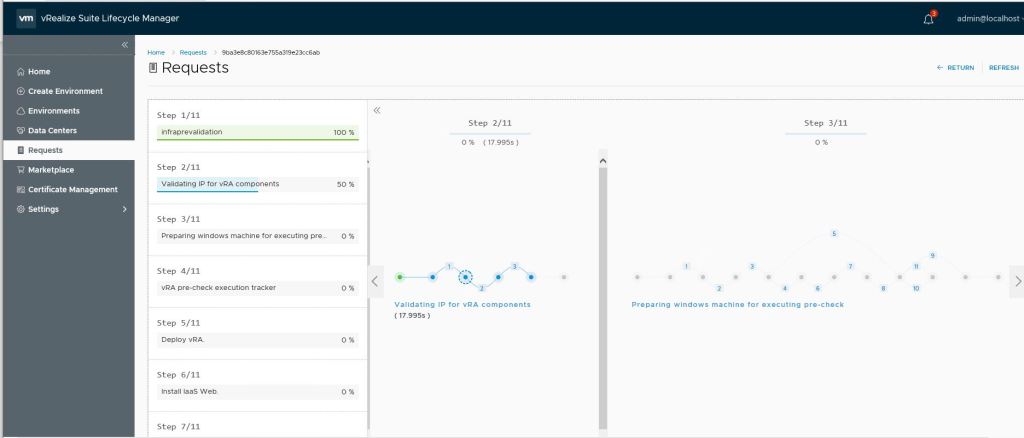
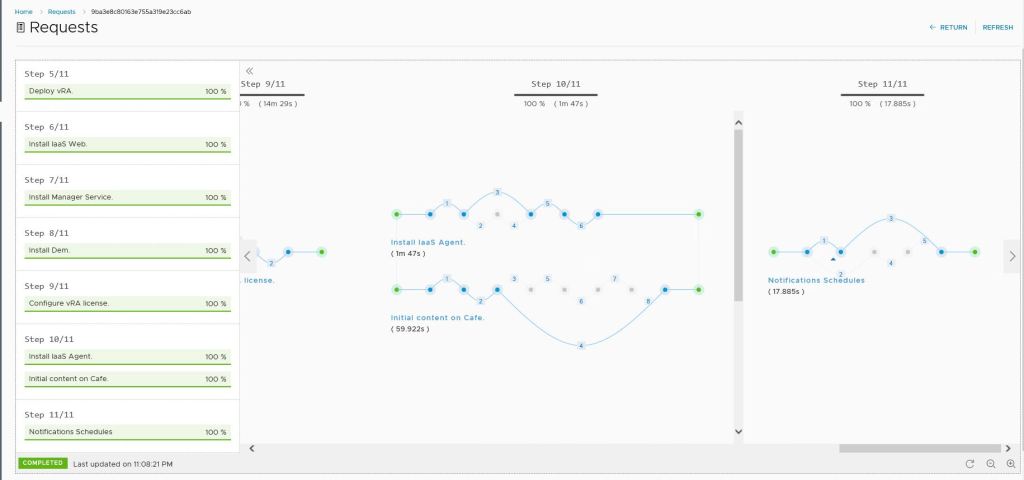
- vRA Environment deployment status can be monitor from Request tab as below. Wait for all task to complete.
- Go to vRA home page at https://vra-appl01, page will look like below.
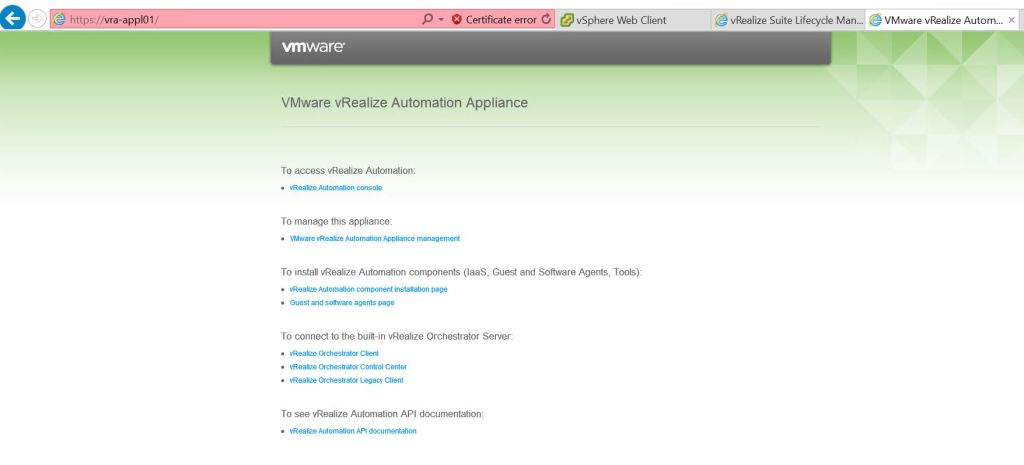
That’s it friends, vRA 7.6 deployment has been complete successfully. 🙂
If you think this post is helpful to you, please like & share. All comments are most welcome for further discussion.
