In continuation of the previous post Part-1 we are going to do initial configuration of vLCM 2.1.
Procedure:
- Use a supported Web browser (Chrome, IE or Mozilla FireFox) to connect to your vRealize Suite Lifecycle Manager appliance by using the appliance’s IP address or host name.
https://IP address/vrlcm

- Enter the administrator user name.
admin@localhost
- Enter the default administrator password.
vmware
- Click Log In.
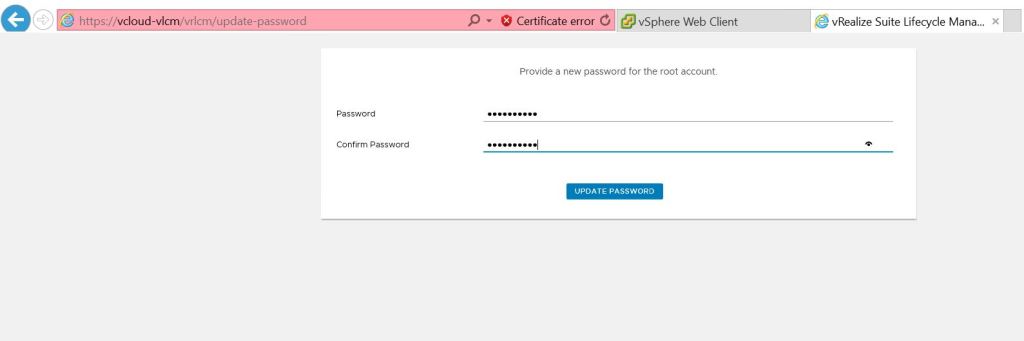
- Once login, in the very first page it will ask you to change the root password. Please change.
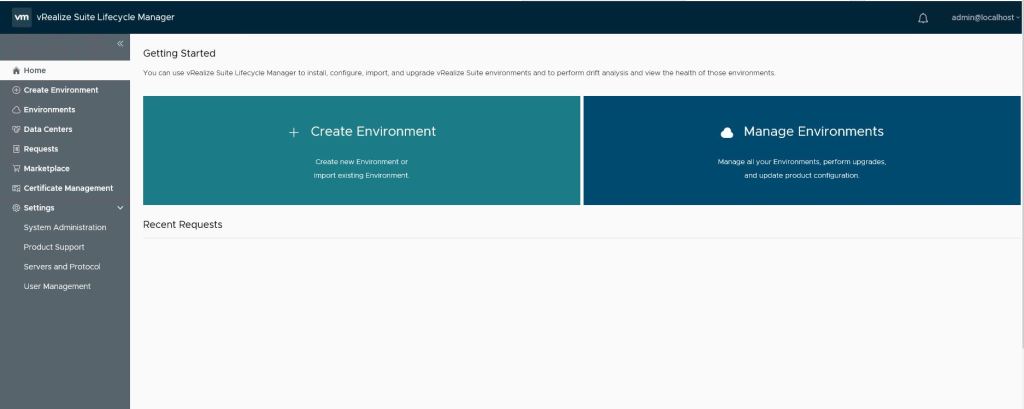
- After login the home screen will looks like below.
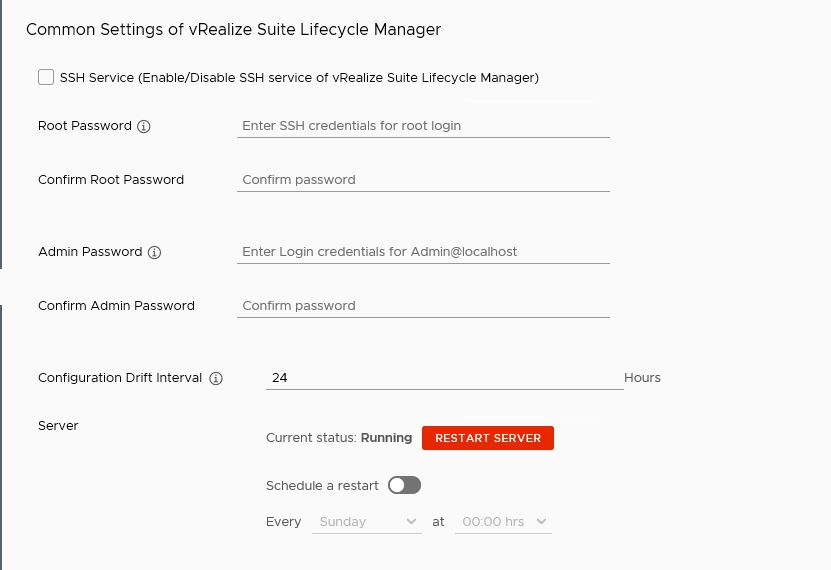
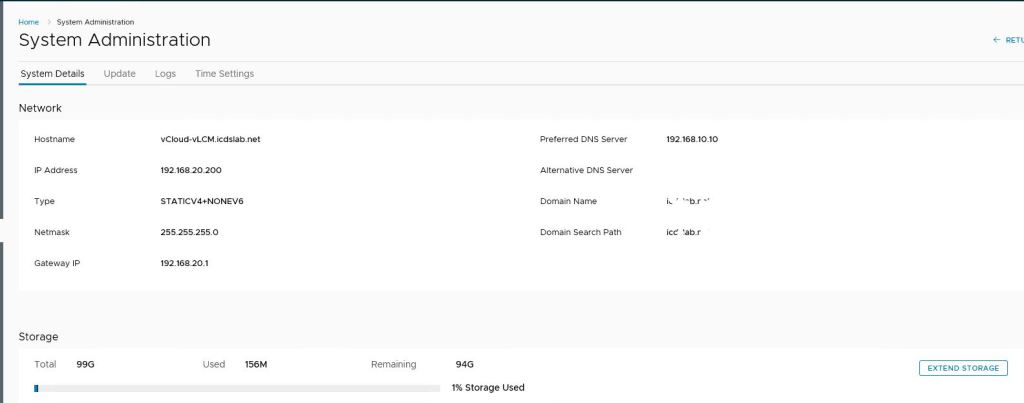
- Now Go to setting–>System Administration
System Administration: From here you can do basic setting like enable SSH, reset root password, reset Admin password, restart server etc.
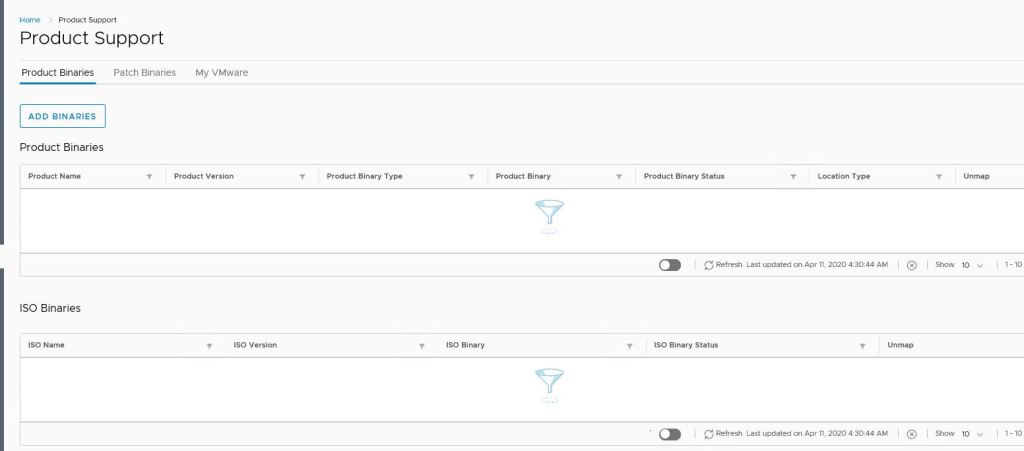
Product support: We can Add Product Binary, Patch Binary and connect vmware account to
download patch or product directly from vmware site to vLCM.
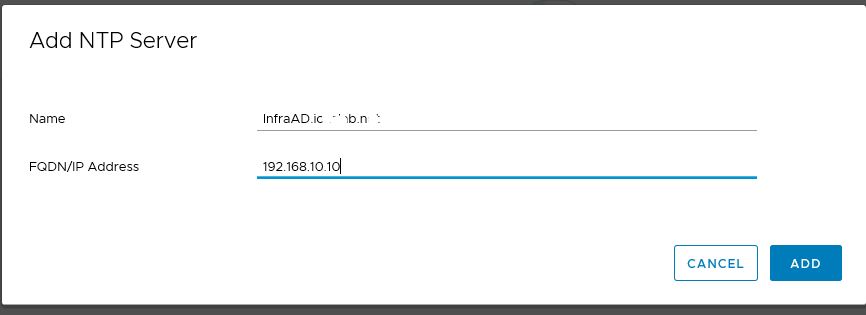
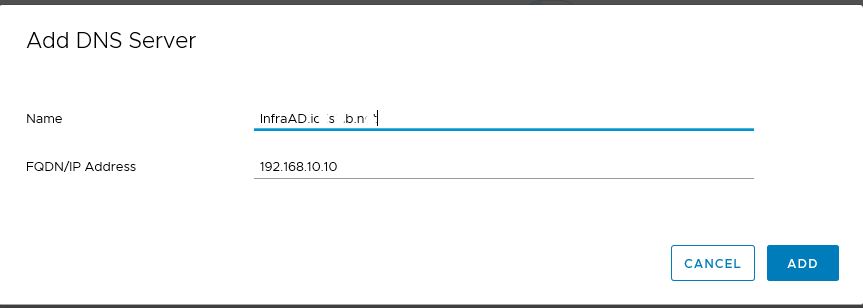
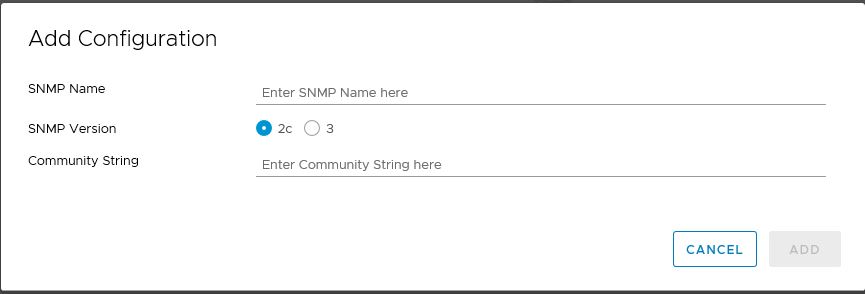
Server & Protocol: We can add NTP, DNS, SNMP configuration.
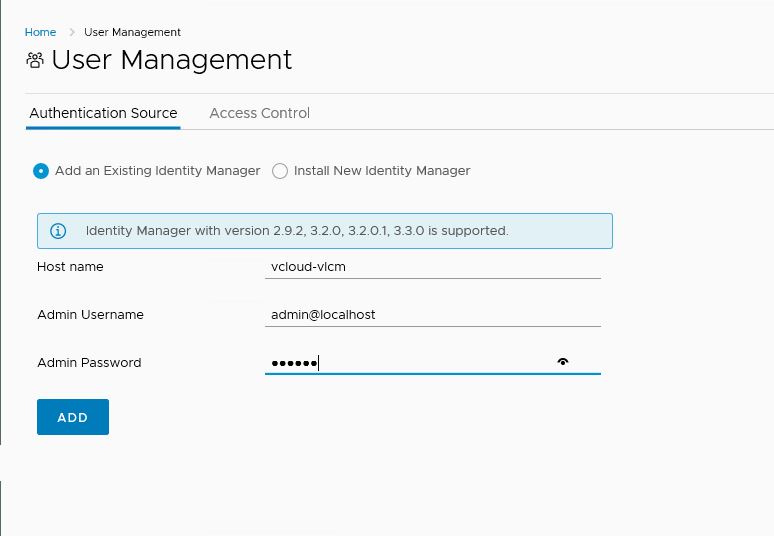
User Management: We can add Existing Identity Manager or install New Identity Manager.
So, we are done with initial setting to getting start with vRealize Life Cycle Manager.
Thanks for reading this post. 😊
If you think this post is helpful to you, please like & share. All comments are most welcome for further discussion.
